
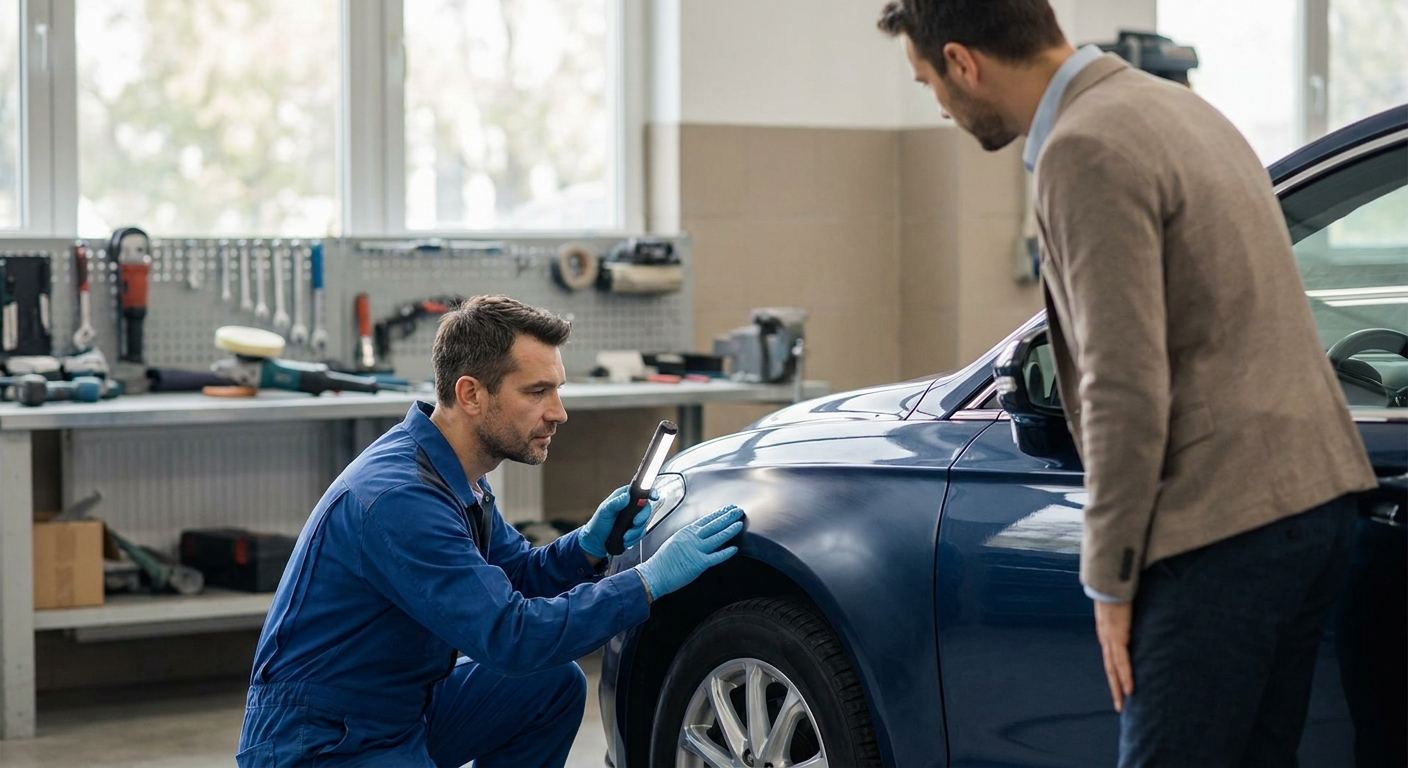
How to Check Panel Beating Quality Before You Pay (2026)
Before you hand over a single rand for panel beating work, you need to know how to check the repair while the car is still on the lift, not after you have driven it home and the paint starts telling a different story.
Most buyers only find out a panel beating job was rushed when the clear coat cracks in the sun six months later or a door starts whistling on the highway.
TL;DR
To check panel beating quality before payment: inspect panel gaps and paint match in direct sunlight, run a magnet test for filler, check for orange peel texture, and confirm the shop used a spray booth and PDR-first approach where possible. A quality repair in 2026 shows even panel gaps within 2-3mm, a paint match invisible from one metre away, and zero overspray on trim. If the shop can't show you the repair before you sign off, that's a Skip. Metalcross runs this exact checklist on every vehicle before handover, and it's the standard you should hold any panel beater to.
Why this matters
A bad panel beating job doesn't announce itself at pickup. It shows up as bubbling paint in year two, a boot lid that won't seal properly, or rust creeping out from under filler that was never keyed correctly. By then the shop that did the work is either gone or arguing about warranty terms.
Insurance-funded repairs make this worse. When claiming insurance for panel beating repairs, some assessors push for the cheapest quote, and cheap quotes cut corners on prep time, primer coats, and blending distance. You're the one who lives with the car, not the assessor. Checking quality before you pay isn't paranoia in 2026 — it's the only leverage you have once the invoice is settled.
What you'll need
- Good daylight or a bright LED work light (fluorescent shop lighting hides orange peel and hazing)
- A small fridge magnet (checks for excessive body filler under paint)
- Your phone camera to photograph panel gaps before and after
- The original quote or job card listing what was actually done
- 15-20 minutes with the vehicle before you sign the collection form
The steps
1. Walk the car in direct sunlight first
Fluorescent workshop lighting flattens texture and hides colour mismatch. Sunlight exposes both instantly.
Stand at each corner of the vehicle and look down the length of the panel at a low angle — this is how orange peel (a pebbled texture from poor spray technique) becomes visible. A quality 2026 respray should look glass-smooth from three metres. Common mistake: checking only from directly in front of the panel, which hides texture defects almost completely.
2. Check panel gaps with your fingers, not just your eyes
Run a finger along the gap between the repaired panel and its neighbours — bonnet to fender, door to quarter panel. Gaps should be consistent, typically 2-4mm depending on the vehicle, and equal on both sides of the car.
Uneven gaps mean the panel wasn't aligned correctly before final fitment, which usually points to a rushed job. This matters more on SUVs and bakkies where panel geometry is less forgiving — see the notes on bumper repair for SUVs for why fitment tolerance shifts with vehicle type. Expected outcome: gaps that feel identical left to right, with no panel sitting proud or recessed.
3. Run the magnet test on filler areas
Body filler isn't inherently a problem — it's standard for minor dents — but too much of it, or filler applied over rust, is. Hold a small magnet against the repaired area; a strong magnet will pull weakly or not stick at all if there's more than 3-4mm of filler underneath the paint.
A competent panel beater uses filler in thin, feathered layers over correctly treated metal, not as a shortcut to skip metalwork. Common mistake: assuming any filler resistance means a bad job — some filler is normal, a thick spongy feel under the magnet is not.
4. Inspect for overspray and masking lines
Check rubber trim, badges, headlamps, and window seals near the repaired panel for a fine paint mist or a hard masking line. Overspray signals rushed masking, and a visible tape line means the blend wasn't feathered far enough into the original paint.
This is especially relevant if headlamp restoration or badge removal happened alongside the bodywork — those components should come back cleaner than they went in, not dusted. Expected outcome: zero visible overspray on any adjacent trim or glass.
5. Compare paint colour under two light sources
Metallic and pearl paints shift colour depending on light angle and temperature, so a match under shop lighting can still be wrong outdoors. Look at the repaired panel next to an untouched panel in both fluorescent light and sunlight.
A correct colour code and proper blend should be invisible from a metre away in both conditions. Common mistake: accepting a match seen only indoors, then noticing a mismatch the moment the car is parked outside.
6. Ask what prep steps were actually done
Request the job card and check it lists metal prep, epoxy primer, sanding stages, and a dedicated spray booth cycle — not just "repair and paint" as a single line item. Corners get cut in the steps nobody sees, not the final coat.
A shop confident in its work will walk you through this without hesitation. If the answer is vague, treat that as a warning sign, not reassurance. Expected outcome: a job card with distinct prep, primer, and topcoat stages, each with rough time allocations.
7. Check for hail and dent repair specifically if that's what you're paying for
If the job was scratch-and-dent or hail damage repair rather than a full respray, run your hand flat across the panel to feel for residual low spots — PDR (paintless dent repair) done correctly leaves no detectable dip. Reflections from a straight fluorescent tube overhead will also show any remaining distortion clearly.
Gauteng's hail season keeps scratch and dent repair for hail damage in high demand every year, and rushed PDR work is the most common corner cut when volume is high. Common mistake: accepting a panel that looks fine head-on but still shows a shadow line when viewed at a raking angle.
Troubleshooting
- Paint looks slightly duller on the repaired panel — this can mean the clear coat wasn't buffed to match the factory finish, or a different clear was used. Ask for a compound and polish pass before accepting.
- You can feel a ridge at the edge of the repair — the blend wasn't feathered enough. This should be resanded and reblended, not accepted as "normal for a repair."
- A slight smell of paint lingers days after collection — full cure can take several days depending on temperature, but a strong smell after a week suggests insufficient bake time in the booth.
- Door or boot doesn't close as smoothly as before — panel alignment is off. Don't force it shut repeatedly; go back and have it adjusted.
- Rust appears at the repair edge within weeks — the metal wasn't treated or primed correctly before filler and paint went on. This is a warranty issue, not a "wait and see" issue.
- Quote seemed too low compared to others — cross-check against a few panel beater quotes obtained online for the same damage; a quote 30-40% below the rest usually means shortcuts somewhere in the process.
Tools and resources
- A fridge magnet and a phone flashlight cover 80% of the checks above at zero cost
- The original job card or invoice, cross-referenced against what you agreed to
- If the repair was insurance-funded, keep a copy of your insurance claim documentation in case a defect surfaces later and you need to reopen the claim
- Photos taken before drop-off and at collection, timestamped, in case a dispute comes up in 2026 or beyond
What to do next
Once you've run this checklist and you're satisfied, the next decision is picking the shop itself — quality control only matters if you're already dealing with someone who does the metalwork properly the first time. Read through how to choose the right panel beater near you before your next repair, not after.
FAQ
What's the fastest way to check panel beating quality?
Run your hand along panel gaps and look at the repaired area in direct sunlight from a low angle — this catches most fitment and texture problems in under two minutes without any tools.
Is a magnet test reliable for checking body filler?
Yes, for surface-level checking. A magnet that won't stick or pulls weakly against a repaired panel usually means more than 3-4mm of filler underneath, which is a fair question to raise with the shop before payment.
How much filler is normal after a panel beating repair?
A thin, feathered layer of a few millimetres is standard for minor dent correction. Thick filler used to avoid proper metalwork is the problem, not filler itself.
Should paint match be checked indoors or outdoors?
Both. Metallic and pearl finishes shift under different light, so a match that looks correct under shop lighting can still be visibly wrong in sunlight.
Is it normal to smell paint fumes after collecting the car?
A light smell for a day or two is normal as clear coat finishes curing. A strong smell after a week suggests the booth cycle was cut short.
What questions should I ask before paying for panel beating work in 2026?
Ask for the job card breakdown (metal prep, primer, topcoat), confirm a spray booth was used, and ask how the paint code was matched — vague answers on any of these are a warning sign.
Does a lower quote always mean lower quality?
Not always, but a quote significantly below competing quotes for the same damage usually means a shortcut somewhere — thinner prep, fewer coats, or filler over rust rather than proper metalwork.
Can I dispute a panel beating job after I've paid?
Yes, most reputable shops offer some form of workmanship warranty, but disputes are far easier to win with timestamped photos taken at collection than without them.
One last thing
The single biggest tell that separates a rushed panel beating job from a proper one isn't the paint at all — it's whether the shop lets you inspect the car in daylight before you sign anything. A shop that's confident in its metalwork will walk you around the vehicle outside; one that insists on handover inside a dim workshop is hoping you won't look too closely. Metalcross builds that daylight walkaround into every handover for exactly this reason.